Ultralight Bikepacking Guide for Beginners
Have you ever considered doing ultralight bikepacking before?
It’s a great way to go faster and farther on your bike while enjoying a bikepacking adventure.
Most of the time, bikepacking involves carrying a lot of gear that weighs you down. More weight means a slower pace on the bike. It might also be harder and more painful for some riders. If you try ultralight bikepacking, you take a lot of the weight and stress off you and your bike.
This will allow you to ride longer and farther distances at a much faster pace.
In this guide, you’ll learn everything you need to know to start your ultralight bikepacking experience today.
What is Ultralight Bikepacking?
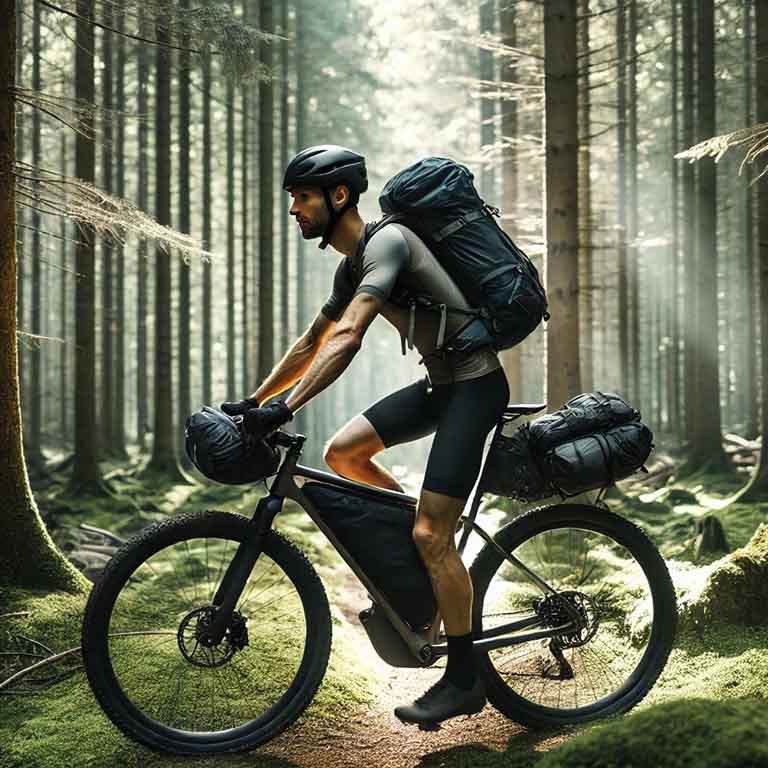
Bikepacking is basically cycling, hiking, and camping mixed into one activity. You use your bike to get around instead of hiking. You pack hiking and camping gear on your bike and ride it to locations that you plan to camp at. In most cases, you’ll use a specialized bike made for singletrack use, as most bikepacking takes place in the woods, mountains, and backcountry areas.
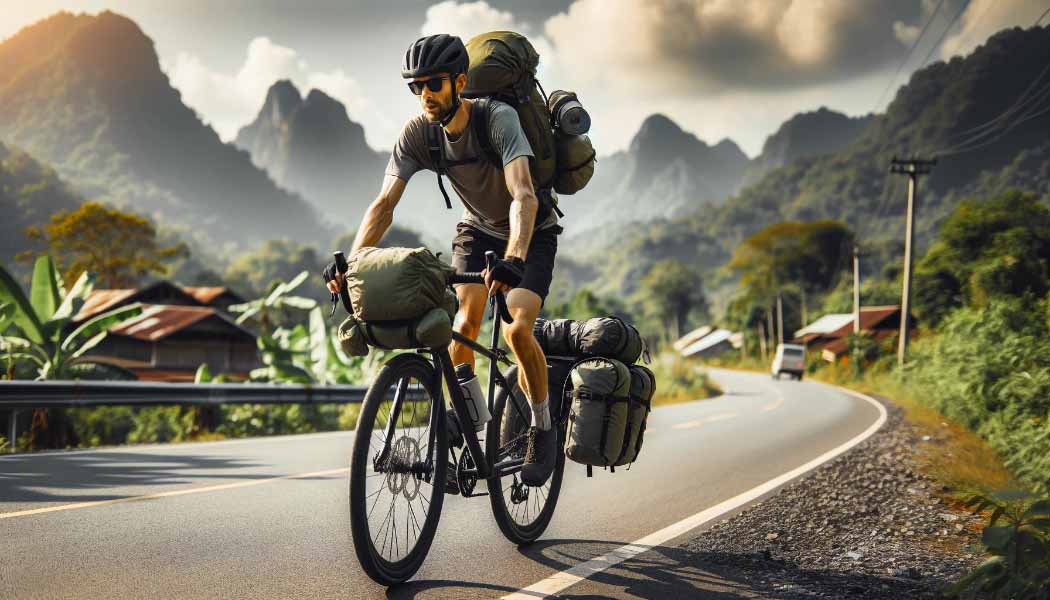
Ultralight bikepacking is when you carry less gear or lighter gear with you on your bikepacking adventures. The idea of being ultralight is to have less weight. This can be helpful for reducing the stress on you and your bike. It can also make you go faster and farther. A lot of people who are into adventure riding are also into ultralight bikepacking.
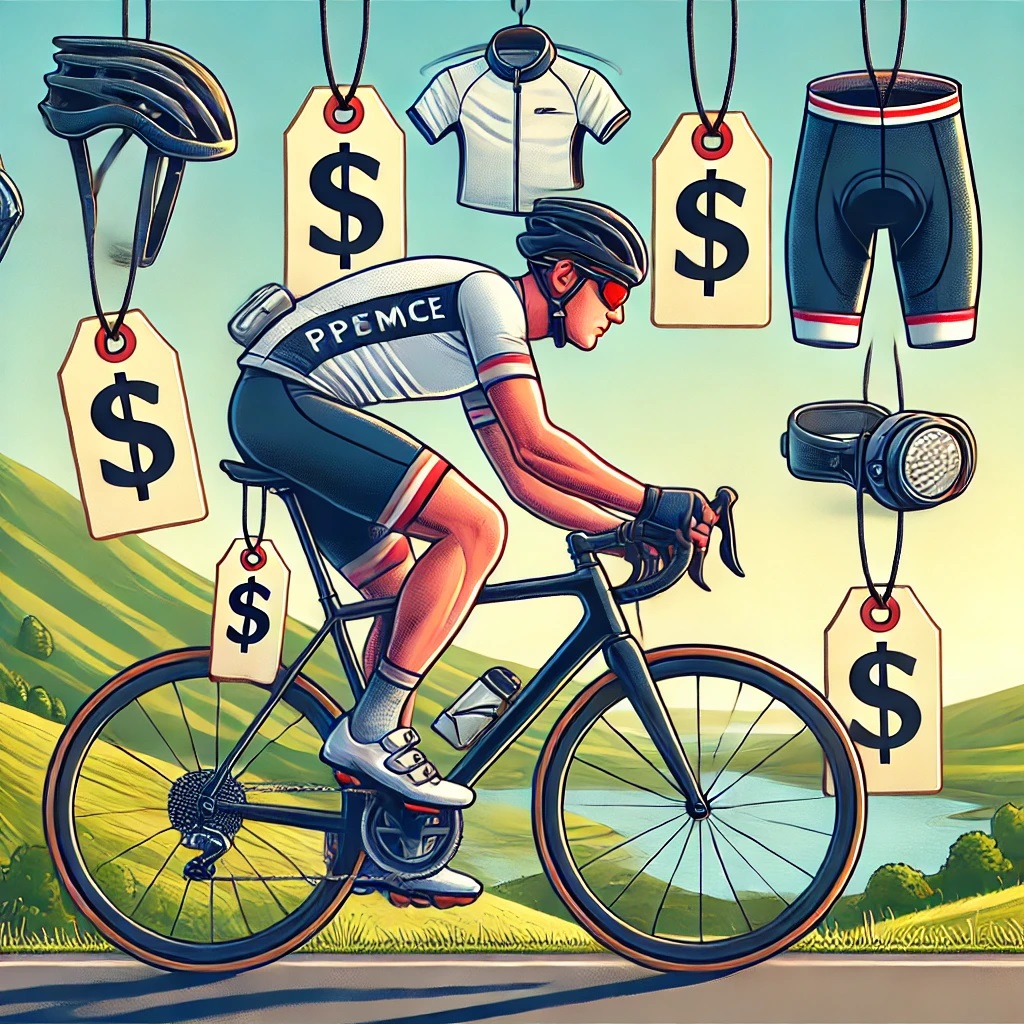
There are many pros and cons of ultralight bikepacking to be aware of before you try it. The pros are that being ultralight will increase speed and efficiency, enhance comfort and decrease pain, and offer a more simplified setup. The cons of this include cost because most ultralight gear is expensive, limited capacity on items, and some vulnerability to the weather.
Choose the Right Bike for Ultralight Bikepacking
There are many types of bikes to choose from when considering ultralight bikepacking. You should choose the best bike for the type of terrain you plan to go bikepacking on. If you choose mountainous singletrack trails and terrain, a mountain bike would be best for you. If you choose a mixture of forest roads, trails, and gravel roads, a gravel bike may be your best bet. Choose a bike based on the terrain you will be riding on for the best results.
You need to choose a good bike brand. Some of the better brands for bikepacking include Trek, Specialized, and Giant bikes. Other brands might be adequate, as well. You might even choose to use an eBike if that is more your style. However, don’t make the mistake of going with a cheaply made bike brand. The cheaper bikes tend to break down as you put more weight on them, especially in more rugged terrains. The last thing you want is your bike to be inoperable with a bunch of gear in the middle of the backcountry.
Many bikepackers choose an aluminum or heavier frame bike for their adventures. That’s because you can put more weight on the bike and extra gear. However, when ultralight bikepacking, you put less weight and gear on your bike. Therefore, a carbon fiber frame (or lighter) might be your best option to reduce even more weight for your ride. You can also upgrade heavier components on your bike to lighter material components as well.
Ultralight Bikepacking Gear and Clothing
When it comes to ultralight bikepacking gear, you’ll either want to use ultralight-specific gear, which is often more expensive than regular gear, or you’ll use less gear altogether. The main gear items you want to pack should most likely include basic bike bags and the following gear:
- Oversized saddle bag
- Frame bag
- Handlebar bag
- Shelter (Tent, Hammock, Bivy, or Tarp system)
- Sleeping (Sleeping bag and sleeping pad)
- Kitchen (Stove, Cookware, and Utensils)
- Water and a water filter
- Food and snacks
- Basic Bike Tools, Portable Pump, and Spare Tubes
- First Aid Kit
- Bike Lights
With the gear ideas above, you’ll want to focus on three aspects when choosing gear. These are choosing lightweight products, gear that serves multiple purposes, and the ability to minimize what you need to bring.
Ultralight clothing can be very simple. If you don’t mind being a little stinky, you can wear the same kit over and over. However, it’s nice to have a spare kit. Use tight fitting spandex cycling kits to reduce the most weight. Wash and let air dry the previous day’s kit and switch back and forth each day. Sleep naked so that you can air out or pack a lightweight sleeping kit like compression shorts/leggings and a shirt if cooler. Try not to take too many clothing items if you can help it.
In the end, you should only take what you will use when ultralight bikepacking. If you really don’t need it, don’t take it. It’s good to be prepared but when cutting weight, it’s good to make some sacrifices, too. Just don’t leave important items at home.
Planning the Perfect Bikepacking Route
Thorough planning is the key to a successful ultralight bikepacking adventure. It’s about understanding your own abilities and limitations and choosing a route that aligns with them. This level of preparation not only ensures your safety but also gives you the peace of mind to fully enjoy your journey.
Look for different maps and applications for bikepacking. Gravel Map is a great website for finding gravel roads. You can also use Ride with GPS, Strava, and apps like that to find bikepacking routes near you. If you can find paper maps, take them with you after learning how to read them, just in case your technology doesn’t work. Bring a compass, too.
Factor in the different types of terrain and elevation on your bikepacking routes. What will you be biking on? Most routes are backcountry and wooded conditions. You might be riding on singletrack hiking and mountain bike trails, gravel or dirt forest roads, and even areas that will require you to carry or hike your bike through it. Consider creek crossings and elevation, too. Many elements will make ultralight bikepacking more difficult.
On the topic of creeks, try to identify as many creeks and other water sources as possible on your route. These will be spots where you can filter water to ensure that you stay hydrated during your ultralight bikepacking adventure.
While planning your route, try to also include resupply points. If you plan a route that has plenty of available stores to get food and water, you can reduce your weight and be able to stay hydrated and fueled using these points. You just want to make sure that you have enough just in case or can easily ration if the resupply point is unsuccessful.
Ultralight Bikepacking Strategies
The best strategy for ultralight bikepacking is to reduce your gear weight. Take only what you absolutely need. If you can use one item for multiple things, choose that item instead of taking multiple items. If you have never used something on previous rides, you should leave it at home.
Leaving things behind can be difficult. We naturally want to be prepared for just about anything. However, in order to reduce weight on the bike, you will likely need to leave some things behind. Ask yourself how often you use items when deciding what you need to leave behind or take with you.
Try to properly distribute the weight of your gear. Each side of your bag should have about the same weight of gear. You don’t want one side to weigh more, or it could make handling your bike more difficult. Try to even everything out and make it feel the same on both sides.
Pack your bags strategically. Pack things so that you will take them out in order. You’ll likely put up your shelter and sleeping process last, so that should be packed on the bottom of your bags. For the stuff you’ll need to get out multiple times throughout the day, like snacks and extra water, you’ll want that at the top.
Learn basic bike maintenance. This is especially important during your ride. You need to know how to fix a flat tire, repair a chain, repair a spoke, unlock your disc brakes, and conduct very basic maintenance to ensure that your bike can stay operable while in the backcountry.
A loaded bike feels a lot different than a bike without a load. You need to get used to a loaded bike before going ultralight bikepacking. The best thing to do is to load up your bike and bags and go riding. If you can find some trails or dirt roads for a longer day ride, try that first so that you can get used to it and know what to expect.
Get used to the idea of hike-a-bike. This is when you have to dismount your bike and push it through rough terrain or up a hill. You might even have to do this at creeks and shallow rivers that require crossing. This happens to all bikepackers at some point or another.
You’ll most likely suffer some type of fatigue or discomfort while bikepacking, even if you’re ultralight bikepacking. While it’s a lot of fun, it can be challenging, too. To mitigate or tend to fatigue and discomfort, try slowing down and not pushing yourself as hard as you might be doing. Take breaks and rest when you need it. Stay hydrated and fueled. Try to take your mind off the challenges of bikepacking. Take care of yourself first.
As noted above, try to take breaks frequently. You should eat something every half hour, even if it’s a few bites from your trail bar. Wash it down with a few big swigs of water to keep yourself hydrated. Stop to reapply bug spray and sunblock since you’ll sweat it off as you ride. Take a moment to stretch and feel better when you get back on the bike.
As an ultralight bikepacking adventurer, you’re an advocate for nature and the backcountry. As an advocate, you should always follow the Leave No Trace standards. Leave an area better than you found it if you’re able to do so. If you pack it in, it is your responsibility to pack it out. Stay on designated trails and routes and consider the wildlife that needs the area to live in while you’re just visiting.
Put safety first before anything else. Plan for all the hazards that you might encounter. Hazards could include injuries created by your bike, natural hazards like falling and rockslides, hazardous wildlife, and severe weather. Make sure you tell someone where you’re going first, and consider bikepacking with a friend if you can.
If you want to challenge yourself, consider doing an FKT. An FKT stands for the Fastest Known Time. An FKT is when you try to become the fastest cyclist on a route. There is usually an overall FKT score and one for male and female gender. Ultralight bikepacking would make going for an FKT easier since there is less weight. Just be sure not to kill yourself out there trying to be the best.
Post-Ultralight Bikepacking Trip
After your ultralight bikepacking adventure, take some time to inspect your bike. Look for any wear and tear that needs to be tended to. You want to make sure you take care of your bike so that it’s ready for your next adventure. Be sure to wash it down and grease everything up, too.
Think about all the successes and failures of the trip. What worked? What didn’t work? Thinking about stuff like this can help you plan for a better trip in the future. Try to take note of things that work really well and stuff that doesn’t work while you’re riding so that you can reflect on it later.
Consider the gear that you took with you. Was there any gear that you never used once? Can you leave that gear at home the next time you go ultralight bikepacking? How about any gear that you didn’t have but really needed at the time? Bikepacking trips will help you make better gear choices for the next trip.
Plan for your future trips based on your reflections. Sometimes, it’s good to write your plans down so that you remember them in the future. Share your experiences of ultralight bikepacking with other riders. You can guest post on blogs like this one (we’re looking for writers) or start your own blog. Crazy Guy on a Bike is also a great resource for adventure writers.
Now, Over to You!
As you can see, ultralight bikepacking is a great activity to get into. It isn’t for everyone, but for some people, it might be the best way to adventure by bike. The tips and tactics above can help you have a great experience while doing it.
Thank you for taking the time to check out this article. Please share it with other bikepackers you know to help support me in writing it.
You can also support my free provision of this article by making a one-time donation of your choice.
Be sure to subscribe to my free newsletter for weekly cycling tips and resources.
About Shawn Gossman
Shawn Gossman is the author of this post and founder of the Beginner Cycling Tips Blog.
Shawn has been an avid cyclist for around 12 years. He road, gravel, mountain, and trail bikes. He likes adventuring more than racing.


